Rob on Renos

|
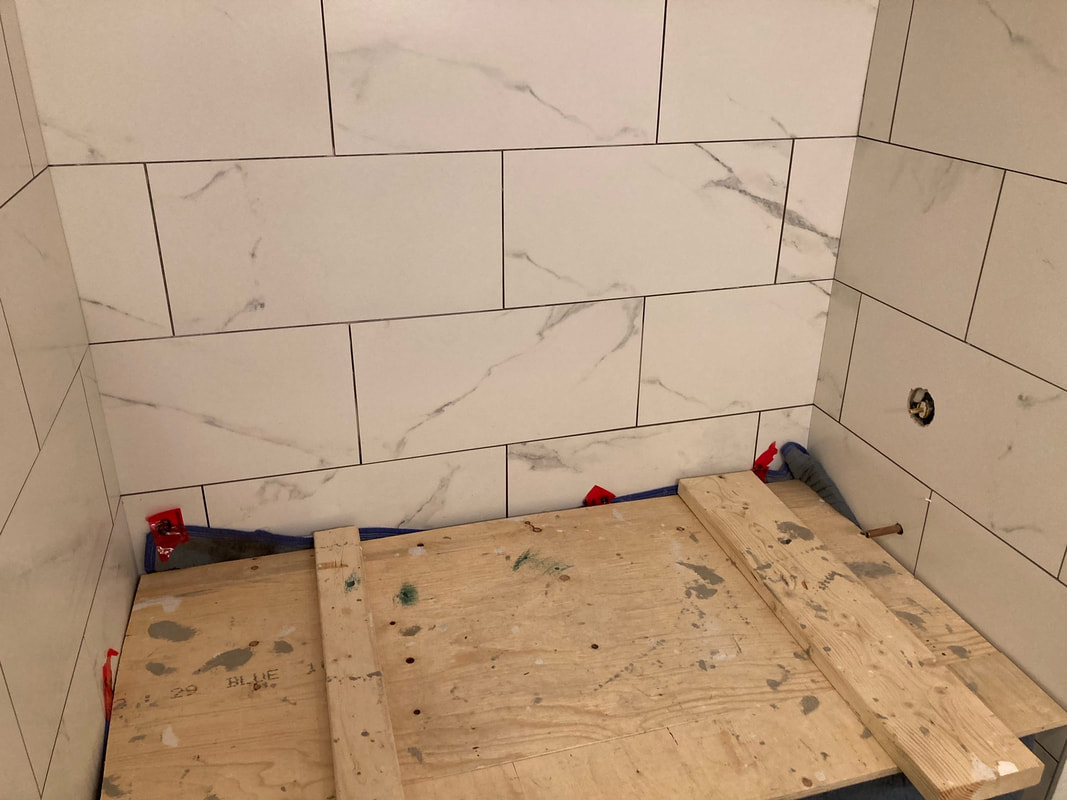
Tiling a walk-in shower can be challenging. You need to take the proper steps at this stage to ensure proper functioning later. For example, I took care to incorporate a 1/4 inch per foot slope towards the drain to eliminate puddling after use. Prior to tiling, I also applied rubber membrane to the cement board on the walls. That prevents moisture from penetrating the wall. 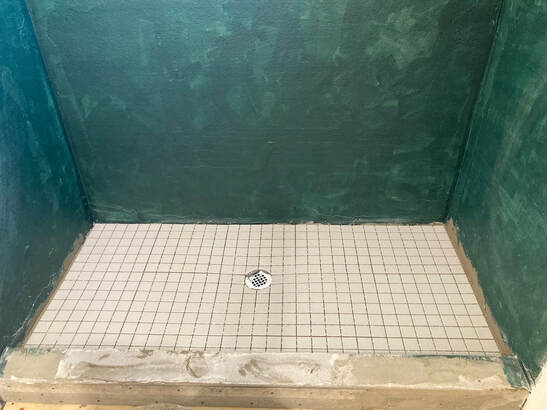
0 Comments
As you can see in the first photo, I am getting ready to tile the back wall of the tub surround. I like to use a laser level to lay out the placement of the tiles. 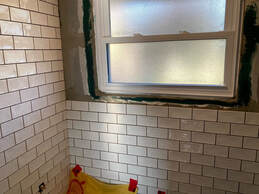 Ta-da! The finished product after grouting! 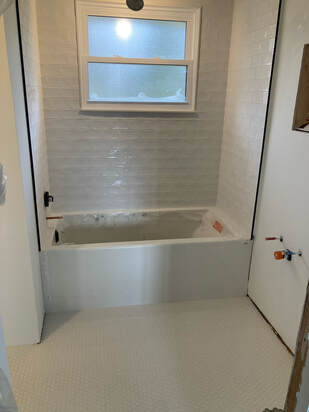 When tiling a floor with large tiles (these are 12 inch x24 inch), use tile levelers to reduce lippage (an uneven surface). In this picture, you see that levelers are in place. Keep the levellers in for 24 hours until the thinset mortar has dried. 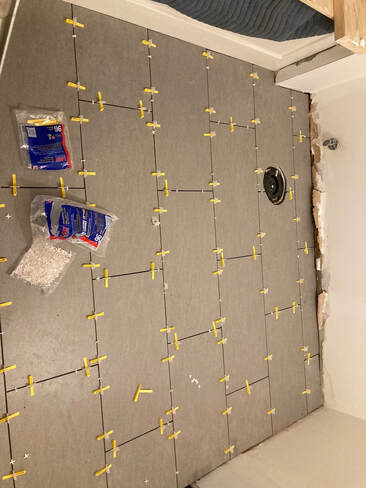 When tiling a bathtub surround, ensure that you protect the tub by covering it with a moving blanket and plywood. You want to avoid any damage from dropped tiles and tools (scratches from work boots).
Hey, diy-ers! Watch the video on my facebook page to learn how to ensure that your new tile floor will be stable and stand the test of time.
www.facebook.com/benzingerhomeimprovement/ |
AuthorI am an experienced craftsman with a passion and talent for home improvement. 
|

Benzinger Home Improvement, Ltd.
|
"We are fortunate to know such a talented craftsman especially in these times when they are very hard to find. We recommend Rob wholeheartedly!" "He has a deep understanding of all house renovation projects and I have yet to find one he can't do." "Robs attention to detail is what pulled this project together. His knowledge and overall care shows in his workmanship. I highly recommend him for your projects as you will not be disappointed." "We truly appreciated his reliability and punctuality, and his overall work ethic. It was a pleasure working with him as he is very knowledgeable, organized, efficient, calm, and an independent, confident worker with a great deal of experience under his belt. Rob will be the one we choose for our future renovation projects. We highly recommend Benzinger Home Improvement." Site powered by Weebly. Managed by Web Hosting Canada
|
 RSS Feed