Rob on Renos

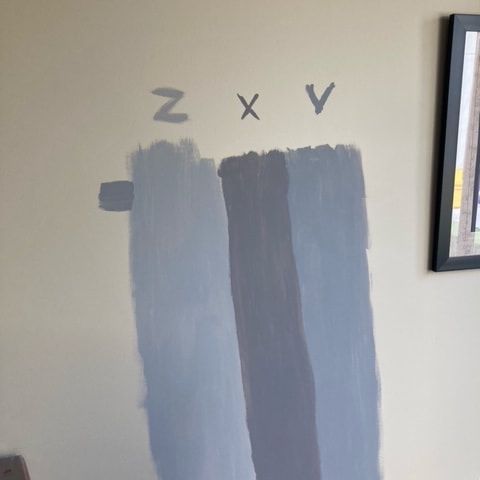 I hear from so many people that they have difficulty making a final colour choice based on the little swatches that are available. I always recommend that you narrow it down to two or three options and then purchase a quarter litre of each. Try them side-by-side on your wall in an area with good light.
0 Comments
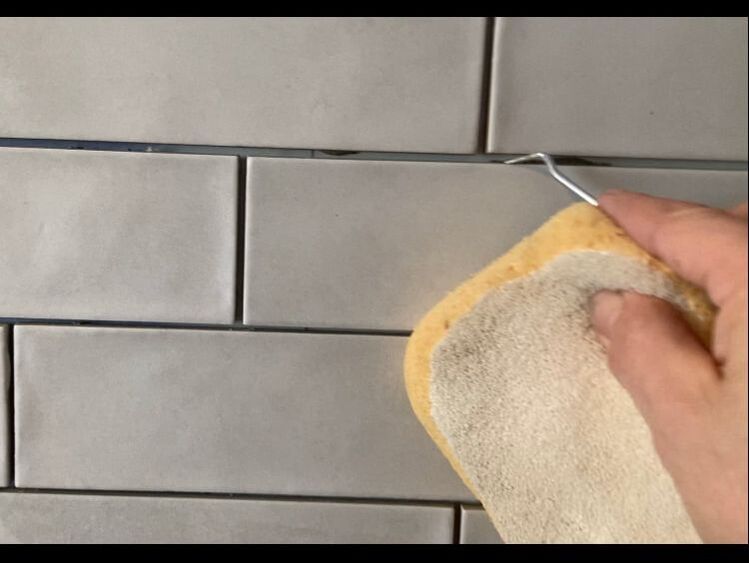
To properly enclose an existing metal support column, you need to first ensure that the existing column is level and adjust if necessary by tapping on the leveling bolts (usually found under the caps at the bottom). Next, box the column in by custom cutting plywood (you want only one plywood piece per side). Screw the plywood in place but, as seen in the final picture below, add construction adhesive and caulking on the corners. Note that when you place the first piece onto the existing metal column, you need to use self-tapping screws. 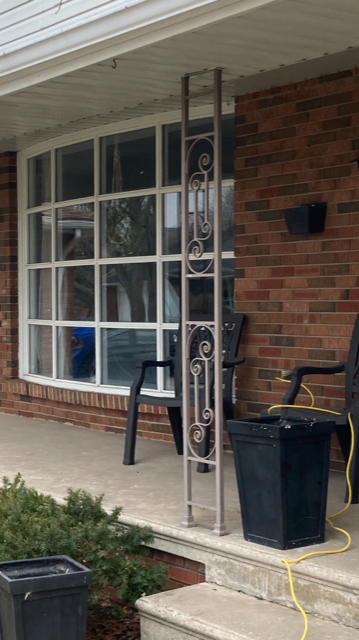 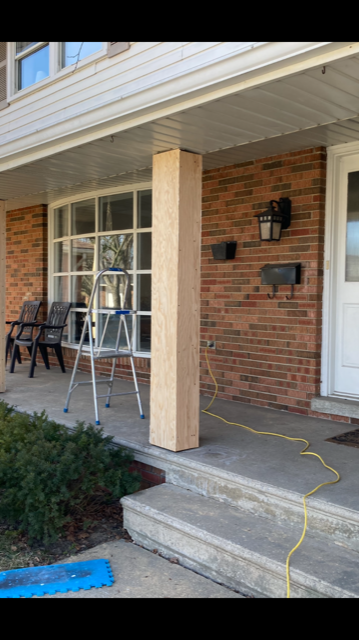 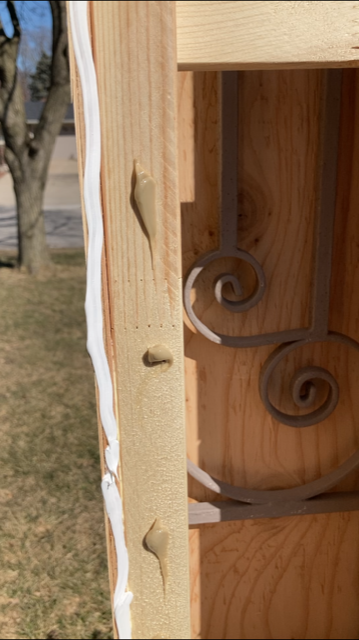 In the before picture below, you can see that in this kitchen, the spacing around the window is uneven. One one side, there is a sliver of wall but on the other, the molding runs right up against the cabinetry. Tile is therefore required on only one side of the window. You need to carefully plan your time placement prior to starting to lay it. Since you will be laying partial tiles to the side of the window, there will be joints in that area. For continuity, you also want to avoid joints and any tile slivers on that side all the way up to the ceiling. In the project below, I found the centre point of the wall above the window (between the two cabinets) and used the centre as a starting point and tiled out in either direction from there. In that way, I could control the size of the tile that was placed along the edge of the wall, making sure that there were no unsightly slivers there. 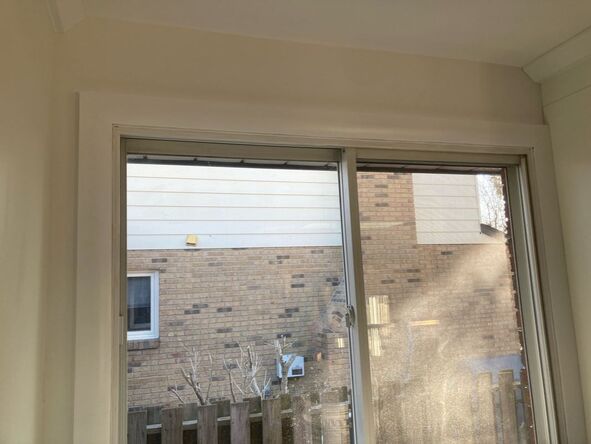 Before - Uneven Spacing Around Window 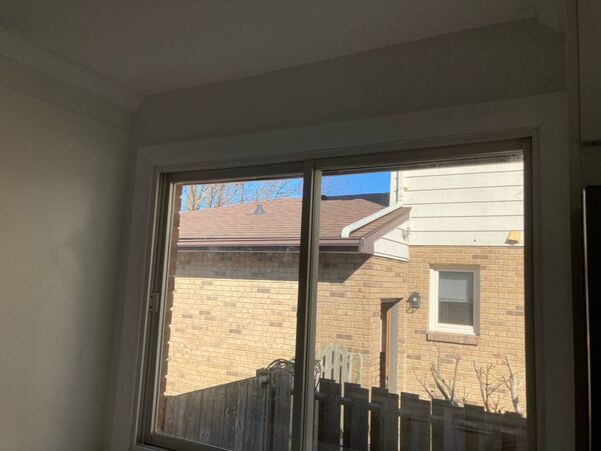 After - See tile placement above and to left of window 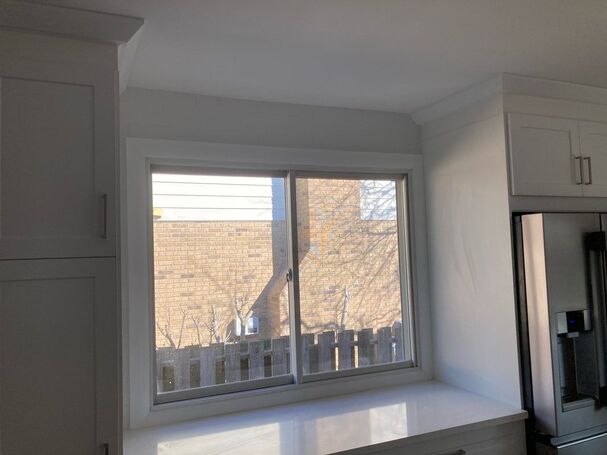 After - alternate view When you grout, make sure that you have the right tools for the job - a sponge with a mesh backing and a small pick. Start by cleaning the tiles with water and a mild detergent. Use the scrubbing side of a sponge like the one pictured below and be sure to clean any mortar left behind in the grout lines with the pick.
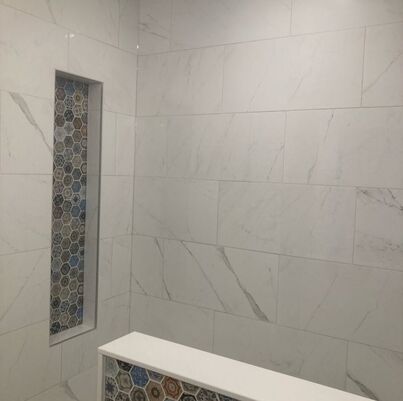
When you are finishing a shower niche, lay the final tiles in this way:
When installing large tiles like 12x24 on a ceiling, ensure that your thinset mortar is mixed to a thick consistency. Otherwise, you will need a hard hat as you can expect the tiles to fall on your head! In addition, make sure you set the tile with some serious upward pressure for a good 20 to 30 seconds. Visually, plan out your tile placement so that the joints on the ceiling tiles are offset from the joints on the wall. 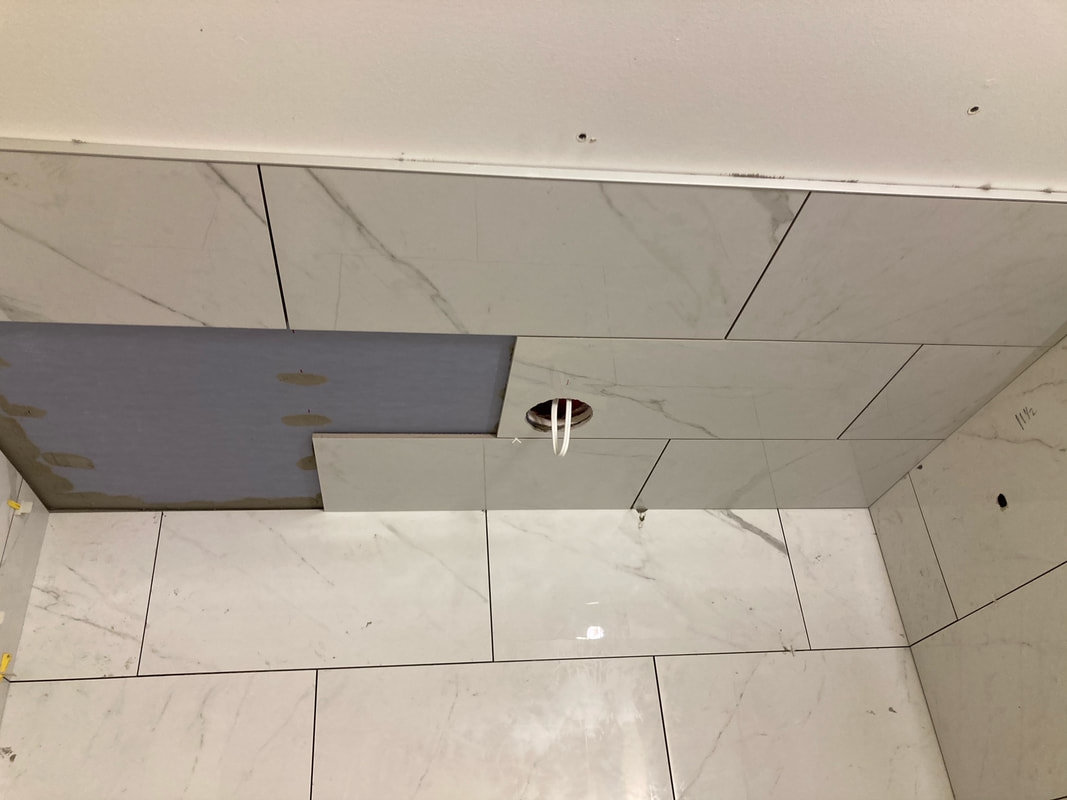 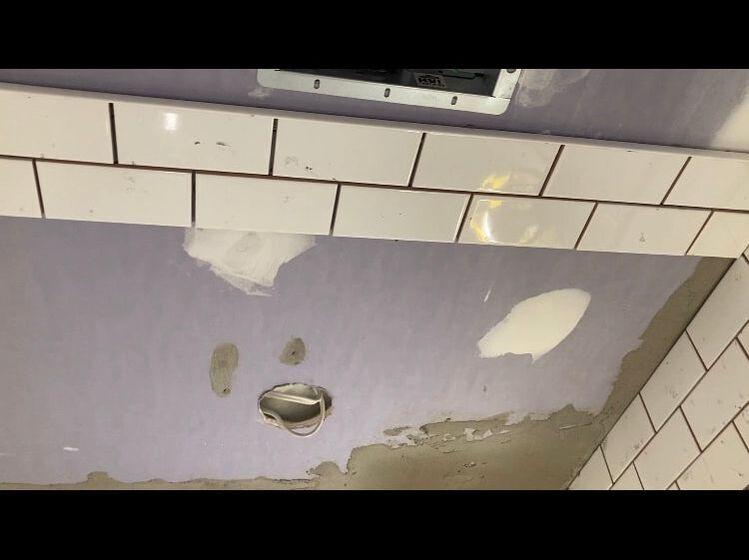 When tiling a shower ceiling, you always want to make sure that every few rows, you measure towards the back wall to ensure that you are laying the tiles parallel to it. Adjust accordingly. That way, you won't end up with angled pieces on the last row.
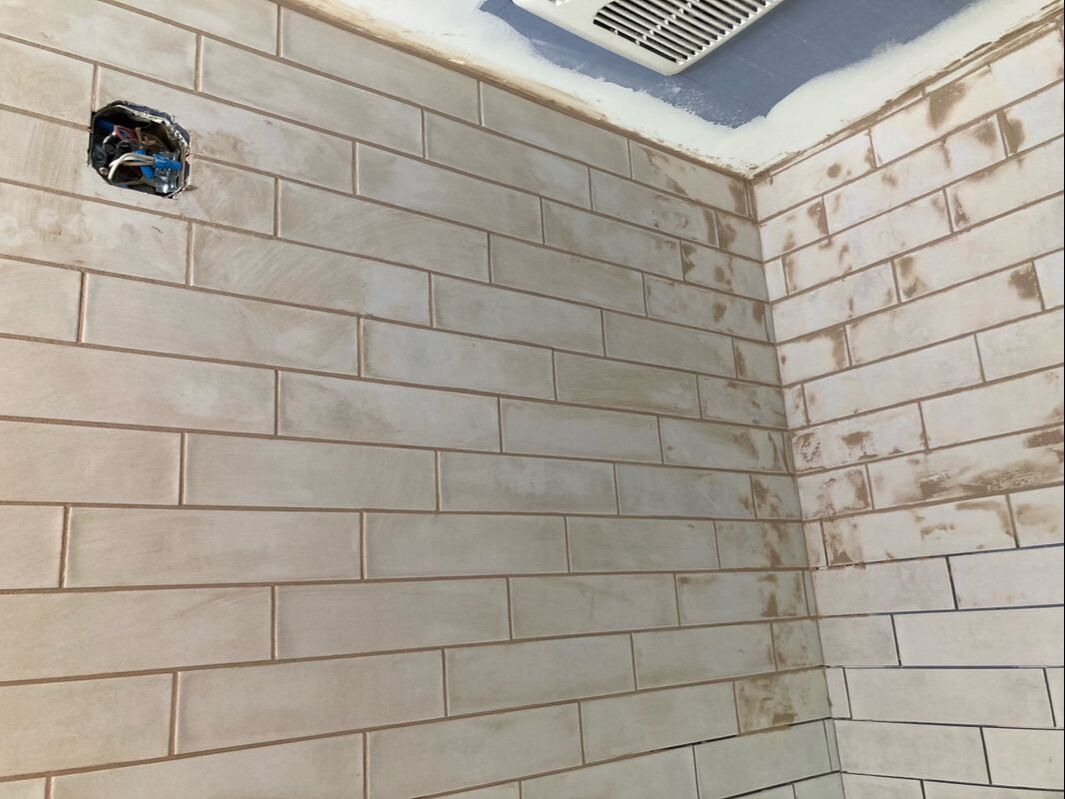
When caulking the corners on an enclosed shower, make sure that you thoroughly clean all of the haze off first. I recommend lacquer thinner to clean the corners because it removes pretty much everything. A clean surface ensures a strong bond of the silicone to the wall, thus preventing leakage. I like to use clear silicone as it blends in much better than a coloured caulk that rarely matches the tile perfectly. That is only advisable, though, if your corners are nice and tight. 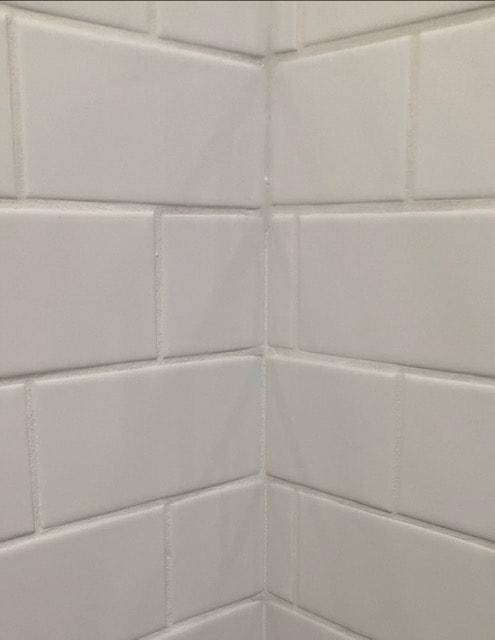 Vinyl flooring is quick and easy to install but I do have a tip that may surprise you. To install flooring properly around doors, you do need to cut the jams and casing. This creates the space you need to slide the flooring under the jams. Be sure that you put a joint between the two jams (you can see this in the picture immediately below. Before you snap the pieces into place that you want to slide under the jam, coat the edges in vaseline. Snap one piece in and slide it in place. Ditto with the second piece. Easy peasy! 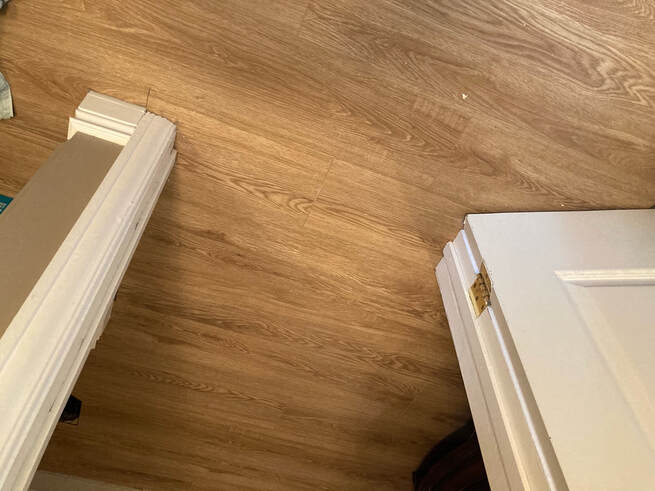 Although the homeowner will never see them, protector plates are an essential component of a bathroom renovation. Whenever electrical wires or plumbing lines are at the edge of the stud (close to the cement board or drywall), protector plates are required. These plates prevent a screw from penetrating the wires or lines. You can see one such protector plate in the photo. 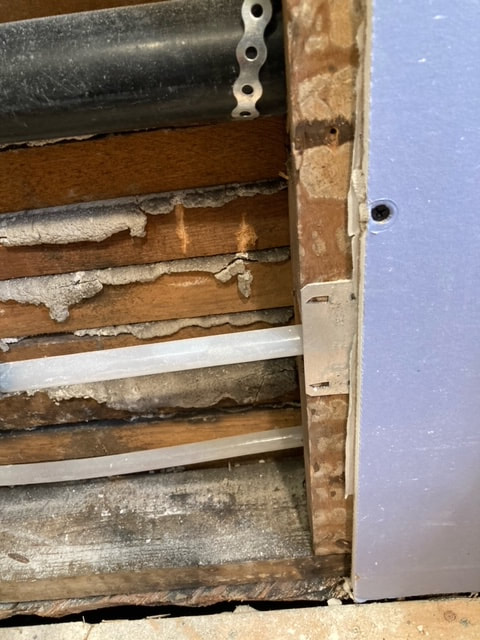 |
AuthorI am an experienced craftsman with a passion and talent for home improvement. 
|

Benzinger Home Improvement, Ltd.
|
"We are fortunate to know such a talented craftsman especially in these times when they are very hard to find. We recommend Rob wholeheartedly!" "He has a deep understanding of all house renovation projects and I have yet to find one he can't do." "Robs attention to detail is what pulled this project together. His knowledge and overall care shows in his workmanship. I highly recommend him for your projects as you will not be disappointed." "We truly appreciated his reliability and punctuality, and his overall work ethic. It was a pleasure working with him as he is very knowledgeable, organized, efficient, calm, and an independent, confident worker with a great deal of experience under his belt. Rob will be the one we choose for our future renovation projects. We highly recommend Benzinger Home Improvement." Site powered by Weebly. Managed by Web Hosting Canada
|

 RSS Feed